Summary:
Do you have some content items that you want displayed on the catalog but you need to have tight control over who can access? For example, in order to access the content, the learner needs to fill in a form requesting access. With a little customisation of the Course Detail page widgets, you can create this flow.
Requirement Overview:
If any or all of these requirements fit your end goal, this may be the play for you.
- Requirement 1: Display the content item in the catalog widget similarly to all other content items
- Requirement 2: Remove access to enroll or purchase the content item
- Requirement 3: Provide the learner access to a form to populate to request access
Functional areas to be used:
- Customized Course Detail page
- Single Column Widget
- HTML iframe
Core Functionality requirements:
Description:
Create a custom Course Detail page that removes the enroll or purchase widget, and replaces it with an embedded form, or a button to an external form.
Configuration:
NOTE: Before configuring the widget, ensure you create an external form so you have a URL to embed into the code.
- Author your course in the normal way, then in the Design step click into the Edit Catalog Settings button.
- Go into the Design tab then click Add Custom Layout, then click Design Layout to create a unique detail page for this piece of content.

- On the detail design page, identify the Purchase Widget and delete it.

-
Choose to add a new Single Column Widget.
-
Leave the Title and subtitle blank and then in the WYSIWYG click on the HTML Icon.
-
In the HTML window add in the following text:
<p></p> <figure style="text-align: center;"><iframe width="600" height="1000" src="https://forms.gle/yeS8QnB5kgMsDZ1F9 " title="Request form" frameborder="0" allow="accelerometer; autoplay; clipboard-write; encrypted-media; gyroscope; picture-in-picture; web-share" allowfullscreen=""></iframe></figure> <p></p>The URL in yellow above should be replaced with the URL for your form.
-
Click Save to complete the code and view the preview on the right hand pane.
- Add or remove any other widgets you need to guide the learner.
-
When you have completed your design click Go to Preview Mode to confirm the design looks as expected.
-
Clicking View Live Page will not give an accurate preview as this shows the display of a learner who has access to the course.
You do not have to save the page when you are finished adding the widgets as it is auto saved.
- To test your configuration, open an Incognito browser and view the catalog logged in as a learner.
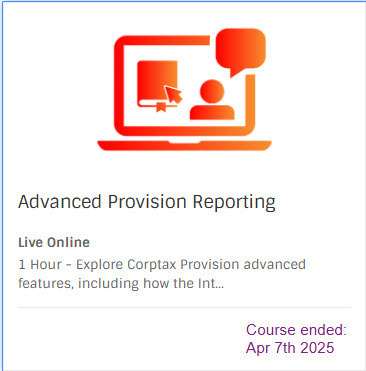
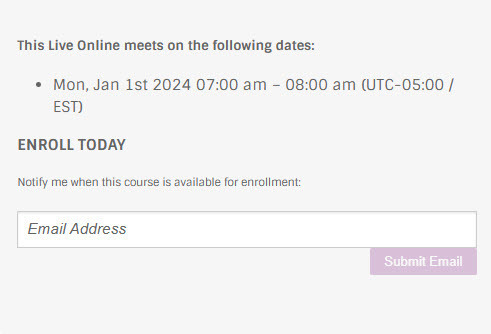
- Click on the catalog image to open the Course Detail page and your form will appear in the Sidebar.
- See example below:

- Alternatively you can add a single column widget and add a CTA button to link the learner to the form. (This is more appropriate if the form to be populated is long)

- Once the learner populates the request form, if accepted, the content will need to be manually assigned to the learner.
Risk and Mitigation Strategy:
- If the content item is provisioned to a Panorama then the learner will not be required to request access, they will automatically have access.
- If you want learners in a panorama to request access then you need to add the content item as purchasable.
Additional Information:
- It is advised to set your form up with an automatic email trigger to alert you to any new entries so the content can be provisioned in a timely manner.